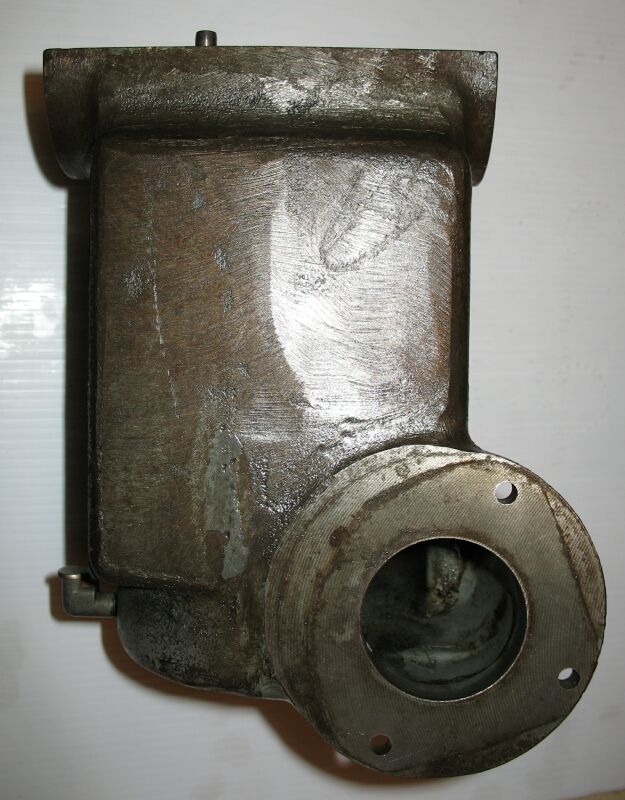
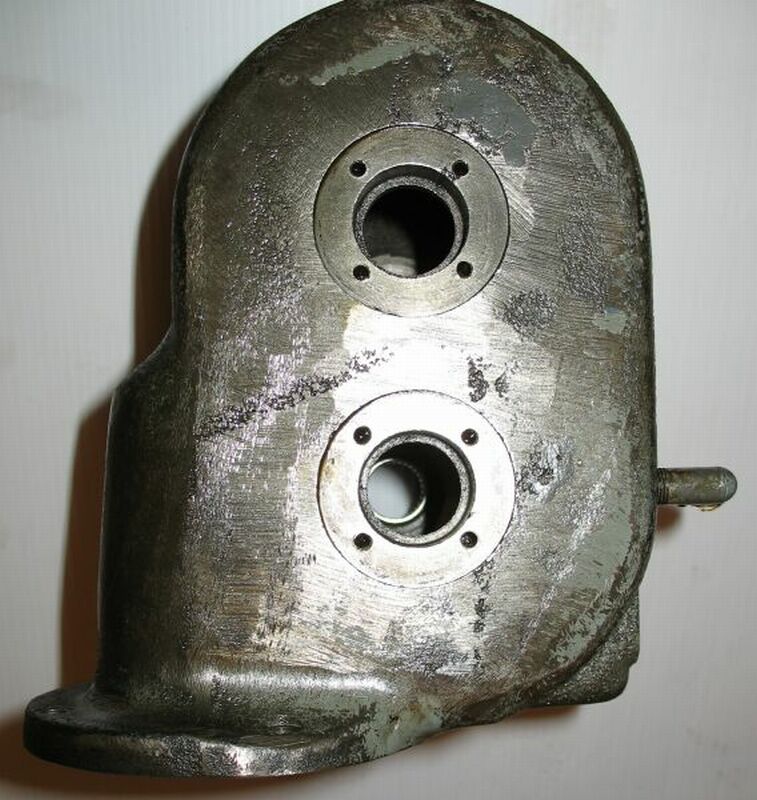
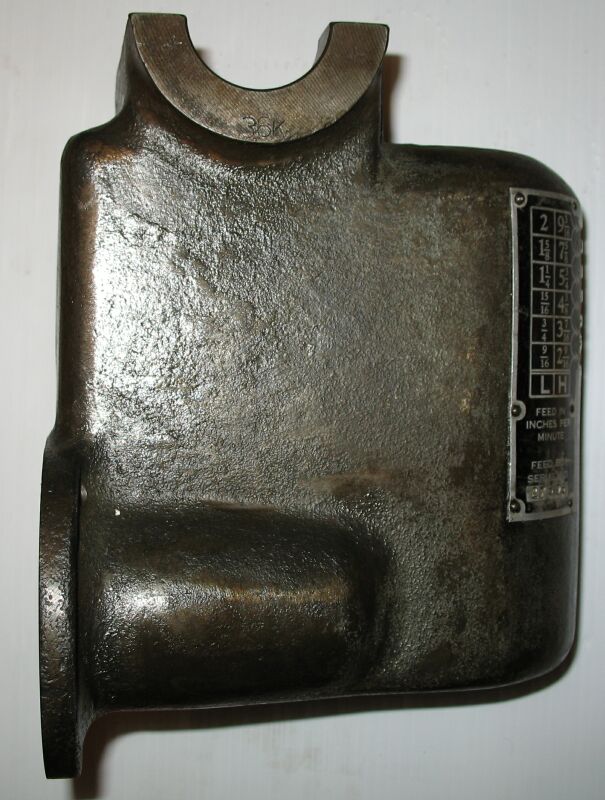
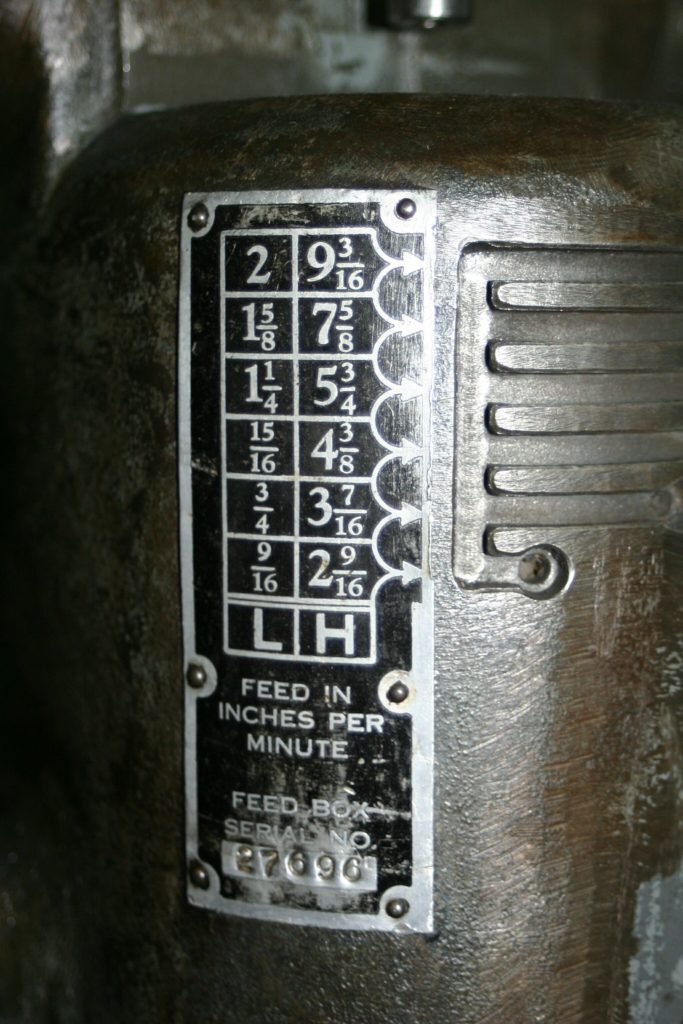
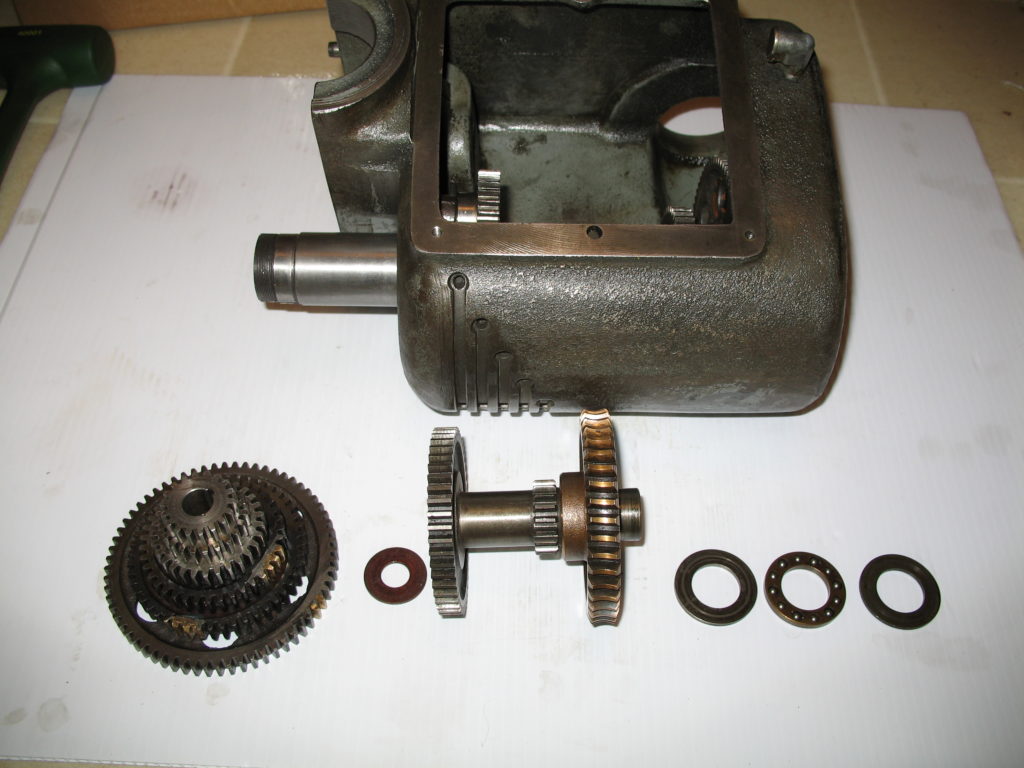
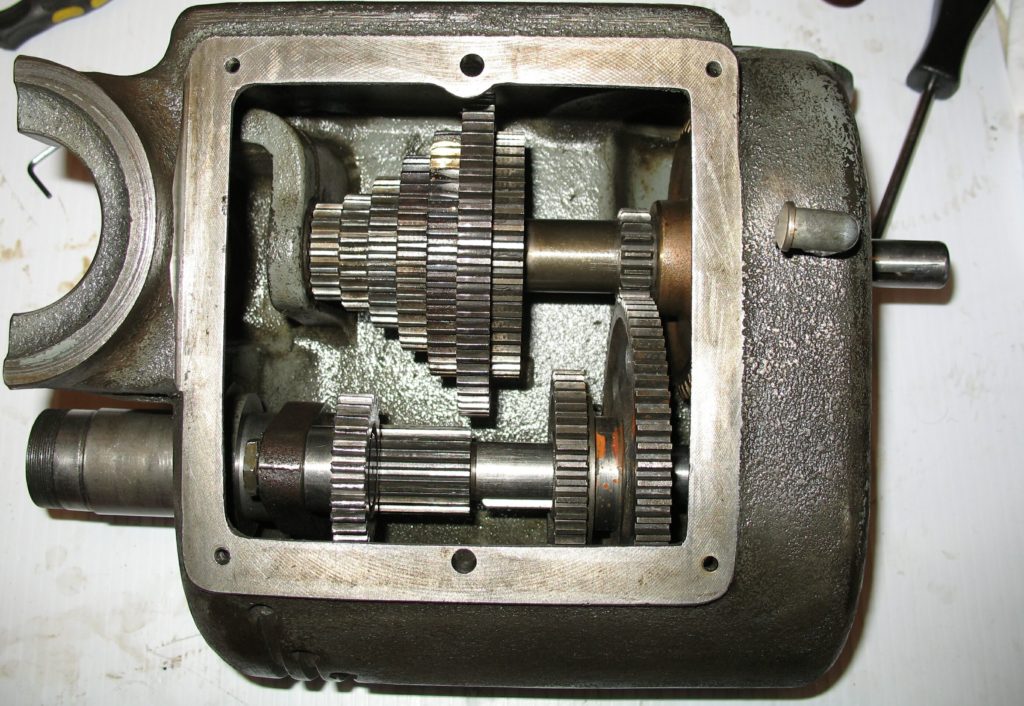
My old (1964-ish) power feed box on my Bridgeport mill had a couple of gears with broken teeth. I took apart the power feed gear box to fix these teeth. Here are some photos I took during the re-assembly. First up — the main case….


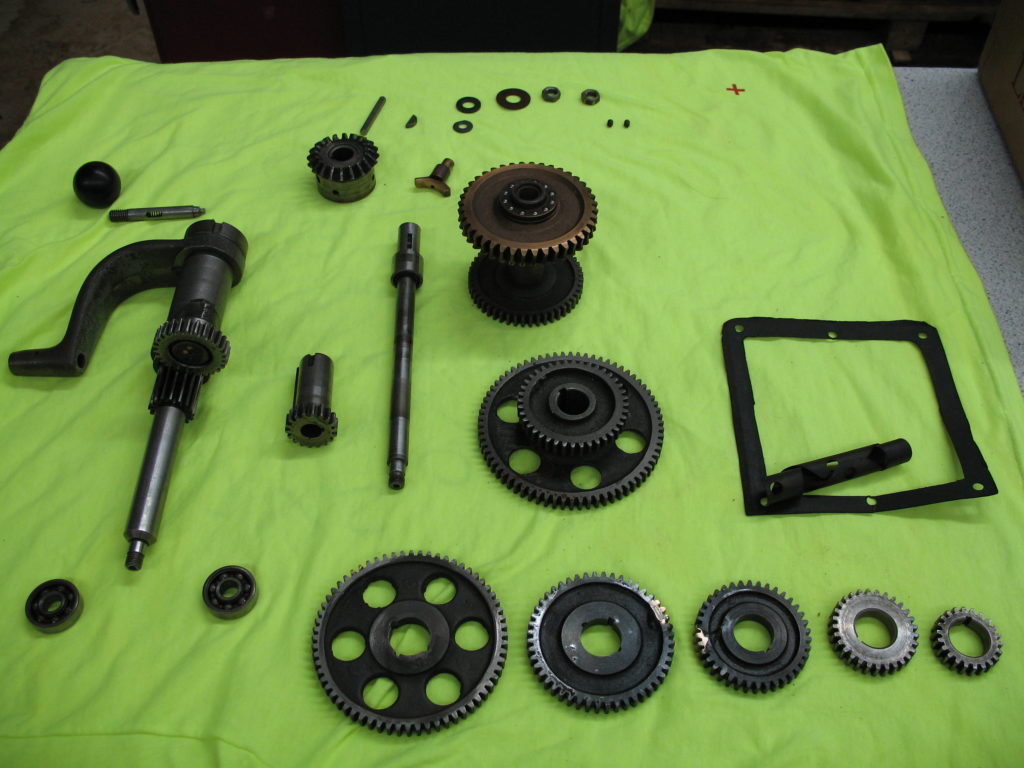
And the piece parts. You can see the repaired gear teeth in gold, on the two gears on the bottom row (2nd from left, and 3rd from left).
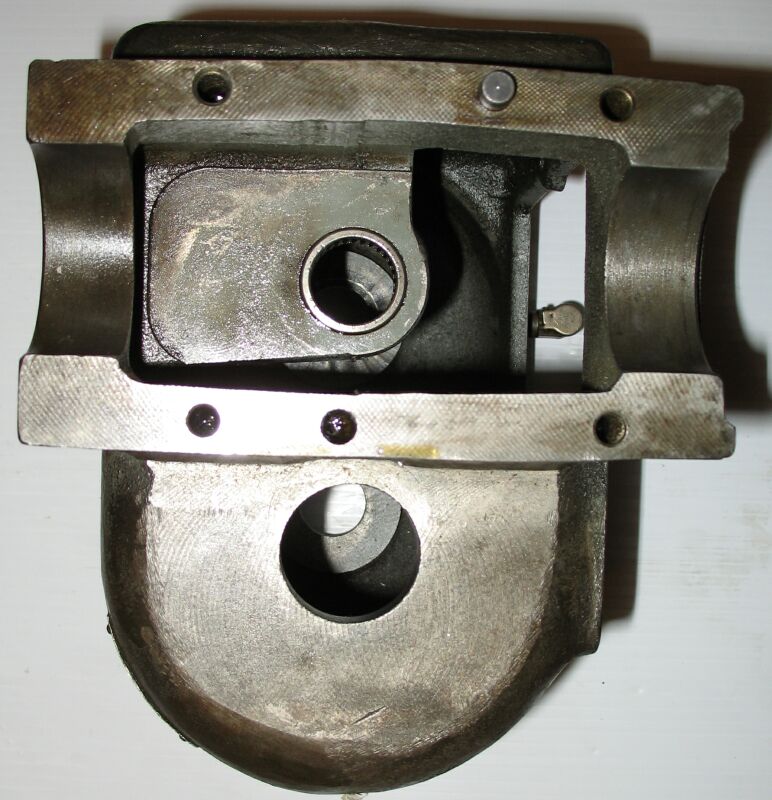
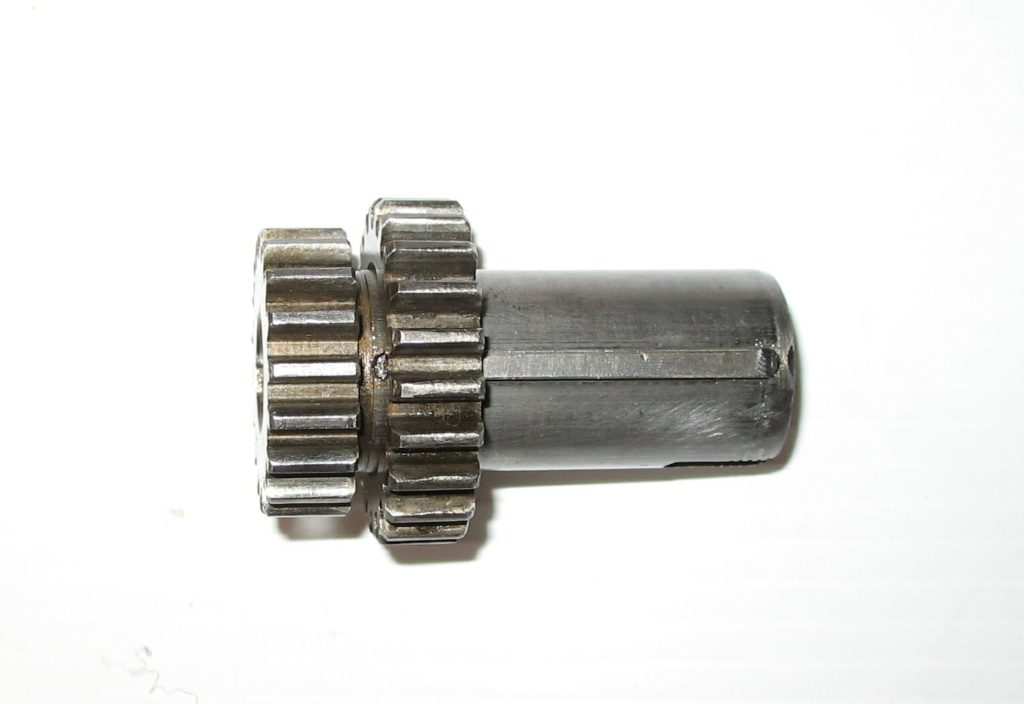
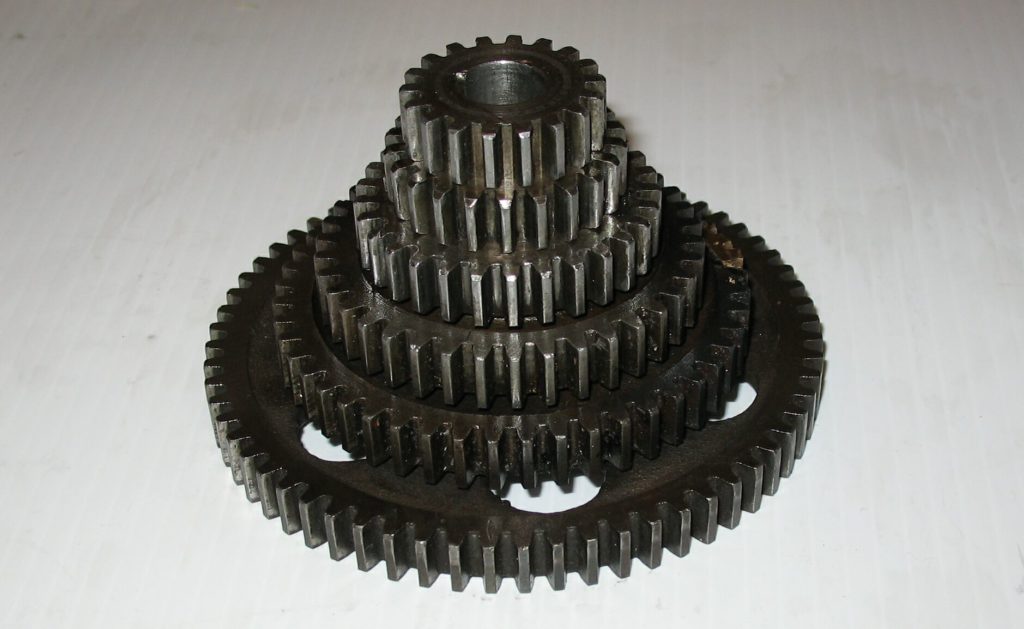
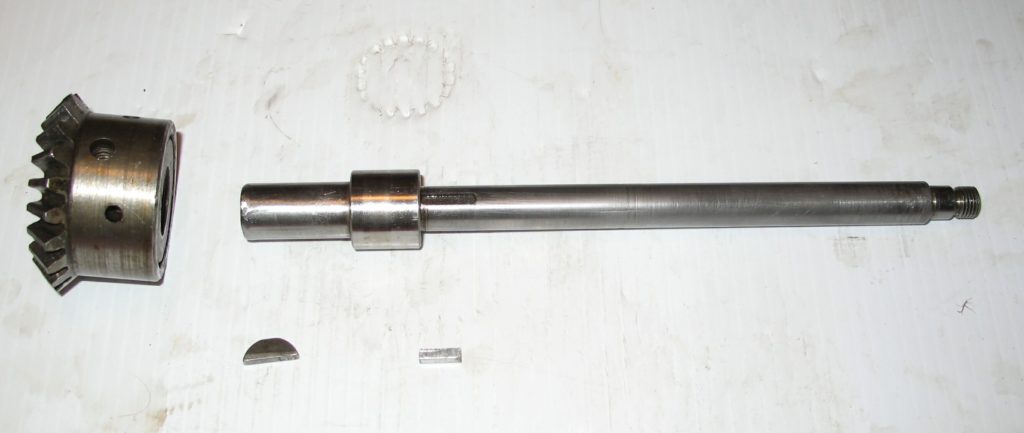
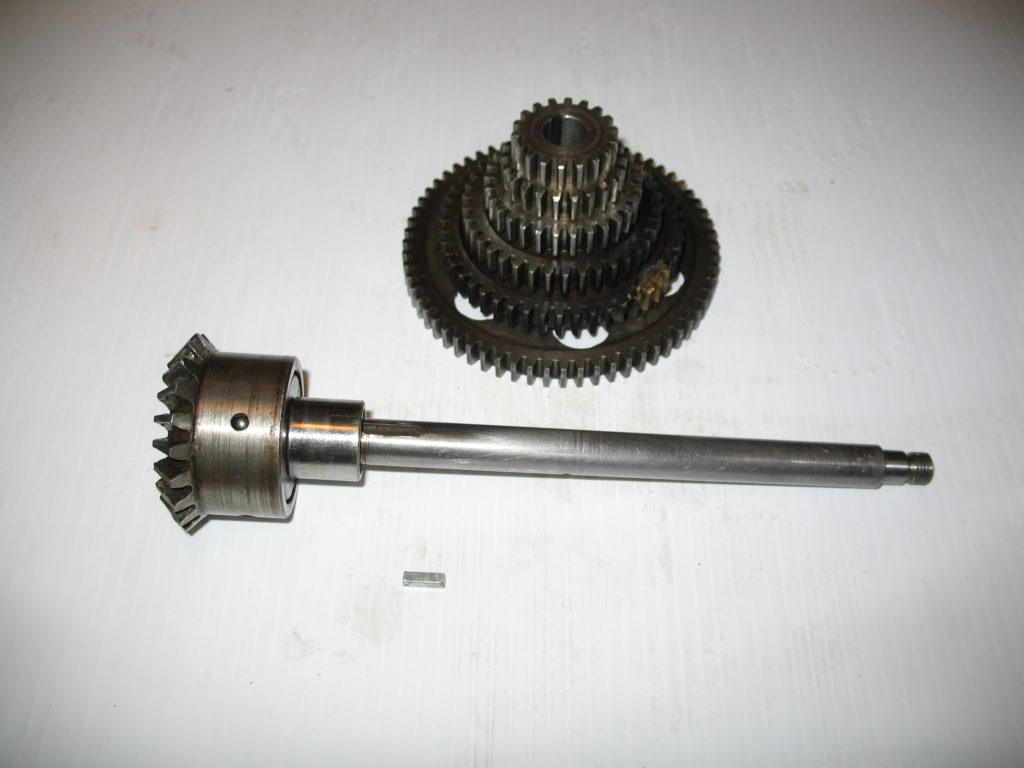
Here are some photos or the re-assembly, in order of re-assembly (mostly). It’s little tricky to get the pieces back in the box, but with a careful examination of the components you can see how the assembly goes together. I used an file/screwdriver to hold the main gear collection in place without actually installing it. This allowed enough movement so that the second shaft of gears could be put in simultaneously.


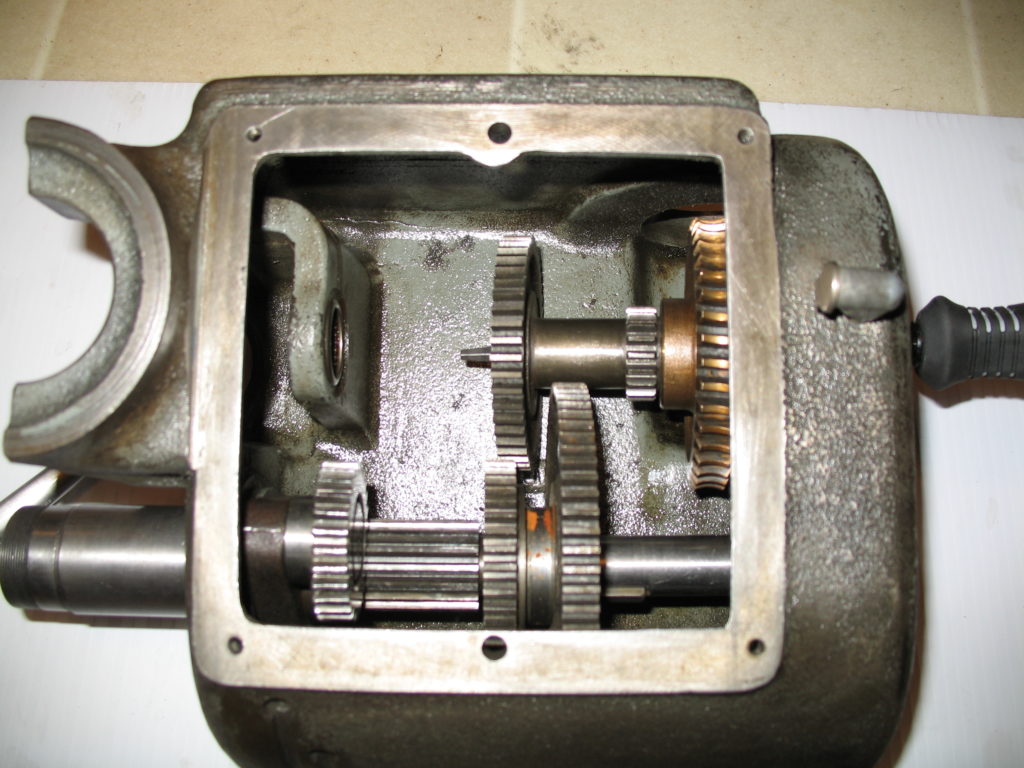

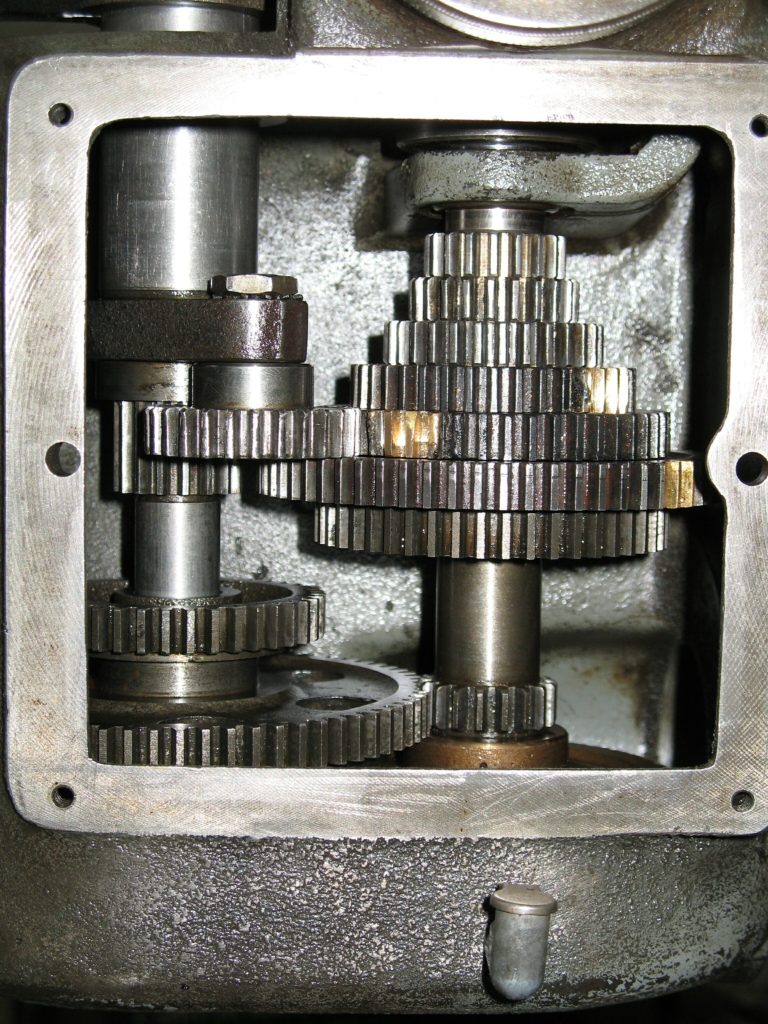
The completed repair seemed to work just fine. Even though the tooth cutter wasn’t the exact cutter I needed, it was so close that you couldn’t tell. The mesh feels natural, and when I turn the transmission it doesn’t produce any binding or noise or anything that ‘feels’ wrong.
Thanks for posting all the pictures! I’ve just pulled mine, and need to get it actually turning…
You’re welcome Todd. Let me know if you have any questions. Maybe it’ll be something I remember LOL.
Best Regards.
Thanks for sharing all of these pictures. I have been contemplating tearing mine apart as it has a lot of slack and some binding. After some short assessment, it appears the gear holder shown on your image 270 has been remade and is where the binding is occurring. These pictures will aid in the repairs! Thanks again. Tom
Hope the pics help, Tom! If you need other photos or have any questions, I’ll be happy to help, if I can.
-Russell